1. Comprehensive Assessment & Digital Shade Mapping
A high‑resolution intra‑oral camera captures surface cracks, existing restorations and shade variations. We scan the arch with an iOS scanner, measure bite force and photograph your smile in different lighting—data the lab will use to reproduce enamel translucency and incisal halos.
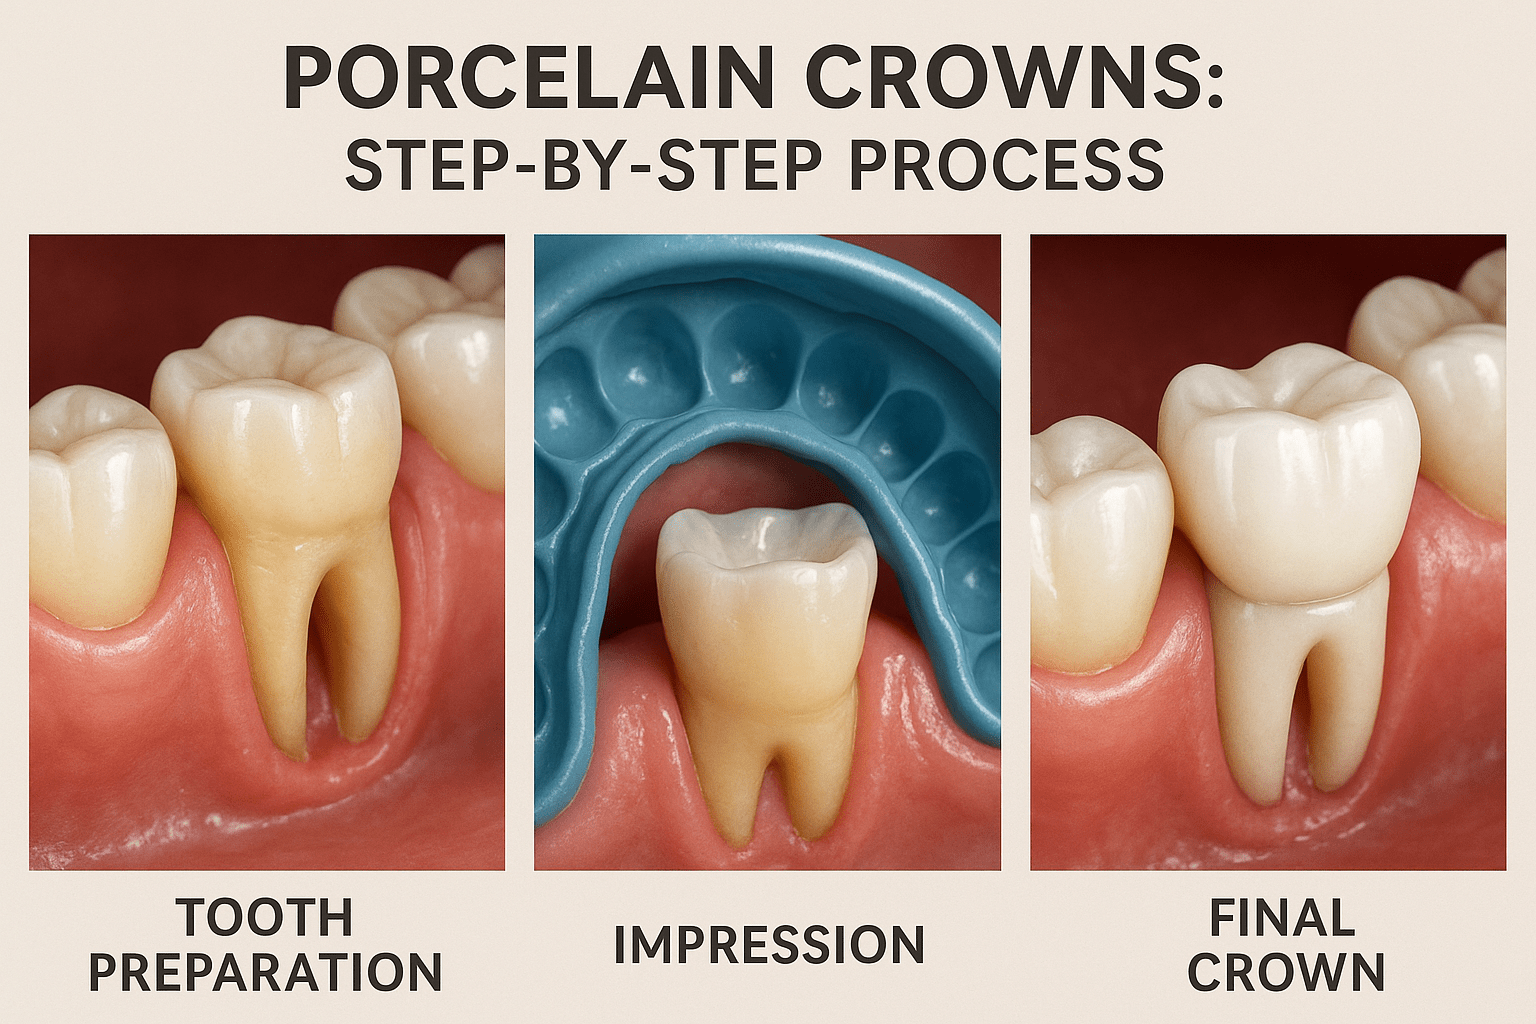
2. Tooth Preparation
After local anaesthesia, 1.0–1.2 mm of enamel is removed circumferentially; the margin is feathered at or just below the gumline to retain maximum dentin while hiding the crown edge. We immediately seal exposed dentin with a desensitising primer to prevent post‑op sensitivity.
3. Final Impression (Digital or Silicone)
For most cases we take a second digital scan—capturing the freshly prepared stump, opposing arch and bite registration—creating a 20 µm‑accurate 3‑D file. When deep‑subgingival margins or excessive saliva compromise scanning, we switch to a single‑step polyvinyl siloxane (PVS) impression.
4. Temporary Crown Placement
A chairside‑milled bis‑acryl provisional protects the tooth and maintains gum contour for five to seven days. You can eat and speak normally while the definitive porcelain crown is fabricated.
5. Lab Fabrication
CAD software designs the crown’s anatomy; a milled lithium‑disilicate core is then hand‑layered with feldspathic porcelain for realistic chroma and surface texture. The crown is fired at 820–840 °C, micro‑glazed, and polished to a mirror finish that resists plaque.
6. Try‑In & Shade Verification
Back in the clinic, we seat the crown without cement to verify marginal fit (<50 µm), proximal contacts and occlusion against digital records. Shade is double‑checked under natural daylight balanced to 5 500 K.
7. Adhesive Bonding
The inner porcelain surface is etched with 5 % hydrofluoric acid for 20 seconds, rinsed, dried and “silane‑coupled.” After isolating the tooth with a rubber dam, we apply self‑etch adhesive and seat the crown with a dual‑cure resin cement, removing excess while gel‑phase, then light‑curing from all aspects.
8. Final Finishing & Bite Adjustment
A fine‑grit diamond, polishing discs and impregnated rubber points smooth the margins and high points. We confirm the bite with articulating paper and adjust until the contacts equalise across all teeth, preventing premature wear.
9. After‑Care Protocol
You’ll receive a custom night‑guard if you clench, plus advice to use non‑abrasive toothpaste and floss threaders. At six‑month hygiene visits we inspect the crown edge radiographically and polish away any superficial stains to keep the porcelain glossy and plaque‑resistant.

We are here to answer any question you may have. Feel free to reach via contact form.